
Mario Sanchez Carrion
I am a math tutor currently helping middle and high school students master common math concepts, and getting them prepared for the SAT and ACT tests.
I hold degrees in Industrial Engineering and an MBA. I am also a computer programming enthusiast, especially interested in data analytics using Python, SQL and R.
I previously worked in international marketing and product development for Fortune 500 companies, for more than 25 years.
👋 Contact me at mario@mariosanchez.org.
Pynt: A Static Site Generator Made with Python
My CS50P Final Project
Made with: Python

Description:
Pynt is a pint-sized static site generator with basic blog capabilities written in Python in less than 100 lines of code. It doesn’t use any web framework, just pure Python functionality.
Why
A few years back I became familiar with static site generators (there are many of them). I tried several: Jekyll, Metalsmith, Hugo, etc. I was always fascinated by the way they worked and how a user could create a working static website with minimal effort at a click of a button. I always wondered if one day I would be able to write one, so I took the opportunity of CS50P’s final project to build one.
Summary
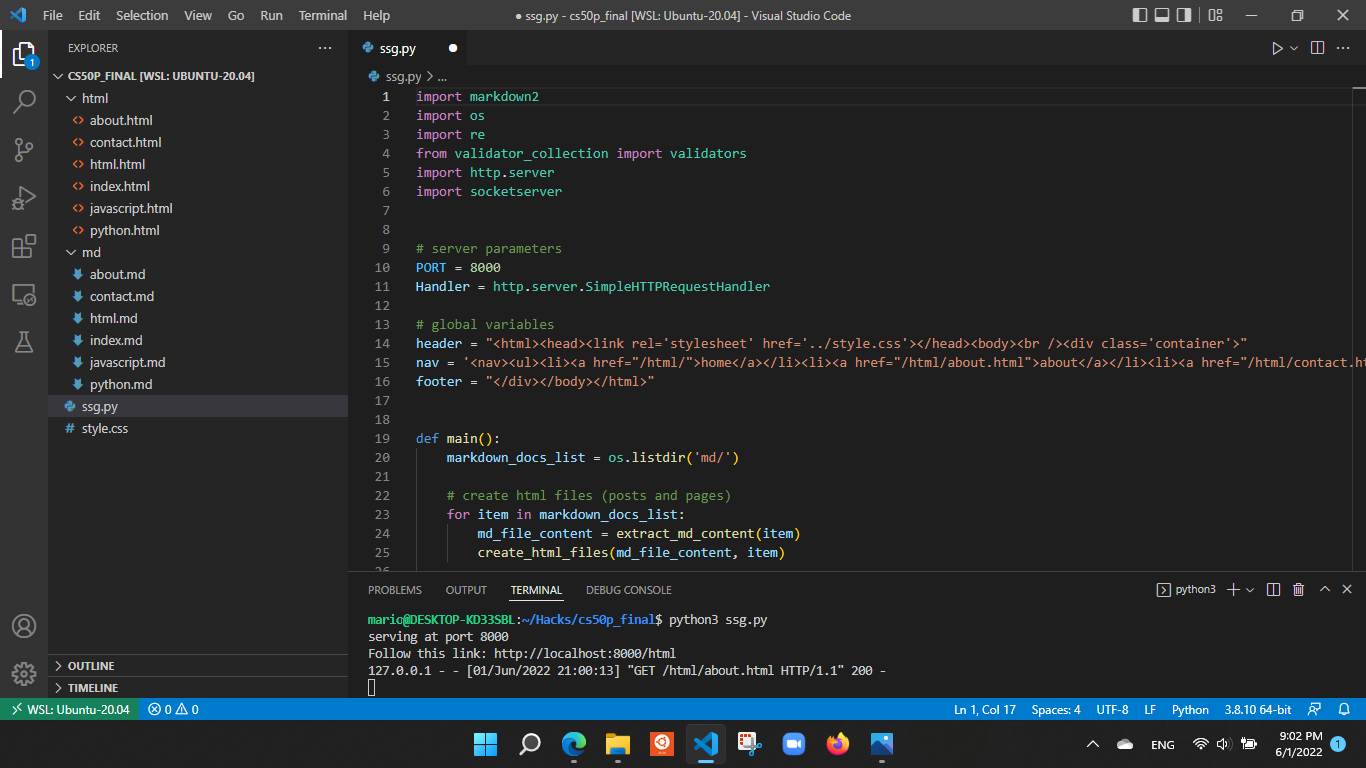
Pynt takes the Markdown located in the md directory and converts them to HTML. The generated HTML files are placed in an html folder that can then be deployed to the web.
How It Works
a. Pynt opens each Markdown file and convert the contents to HTML
b. Pynt saves the HTML files in the html directory
c. Pynt generates a blog posts list page that displays links to all posts, organized in reverse chronological order (newer post first). By default, this is the home page of our site.
Content Types
The program accomodates two types of content: blog posts and pages. Blog posts are entries that contain a date. Pages, on the other hand, don’t contain a date, since they are static in nature (e.g. About and Contact pages). The program is smart enough to differentiate between blog posts and pages when it’s time to generate the blog posts list page: it filters out pages and only parses blog posts.
Views
Since we are not using a web framework, the HTML files are built using string concatenation. We have defined four global variables at the top of the file that represent the common areas in all pages in the site: header, nav and footer.
In the process, we use regular expressions to extract information like dates and titles from the Markdown files, so that we can then use them for tasks like sorting blog posts and retrieving post and page titles.
Pynt uses the Bootstrap framework for styling.
Functions
We have separated our main function from several other auxiliary functions that in turn return a value to main. The functions we declared, in order of invocation, are:
extract_md_content
Takes a file name as argument, opens a Markdown file, reads the content of the file and sends it to the validate_docs function for date format validation. If the validation comes back OK the function converts the list of lines into a string by using the join() method and returns it to main.
create_html-file
This function takes the string returned by the extract_md_content function and with the help of the markdown2 module that we have previously imported converts it to HTML. Then, the function writes the HTML into files located in the html directory. These files can later be deployed to any web server on the Internet for the site to be live.
build_post_links
This function creates the blog post links to be displayed in the post list page. For this, it opens each Markdown file and selects only those that are posts (i.e. those that have a date as part of the content). If so, it then uses regular expressions to extract the title of the post, and together with the file name and date create the actual HTML link to the post page and return the HTML string to main. We repeat the operation for all blog posts.
build_index_page
After the main function has sorted all the links in reverse chronological order (extracting the date via regular expressions) it will pass the HTML string with all the links to build_index_page. Here, the function will concatenate the header, the list of links, and the footer to create the HTML for the lists page.
validate_docs
Helper function invoqued by extract_md_content, with the purpose of determining if the document is either a page or a post.
validate_date
Helper function invoqued by validate_docs to check that the date included with the post is in a valid format: YYYY-MM-DD
run_server()
Function created to open up a web server on localhost:8000 to be able to see our website during development
Modules
We imported a few modules and libraries to help us implement the site:
markdown2
To help us convert markdown files into HTML
re
For regular expressions capabilities
os
Used to call the os.listdir() function to generate a list of markdown files
validator-collection
To validate our dates
http-server and socketserver
To open a web server for development
Usage
This is the process a user would follow to add a new blog post or create a new page for the site:
-
Open a markdown file from the
mddirectory, preferrably and old post or page, to use as a template. -
If the user wants to write a post, type the word “post” in the first line of the file. If the user wants to write a page, type the word “page”.
-
If writing a post, include a date in the second line, following this exact format: YYYY-MM-DD. If writing a page, don’t need to type a date
-
Write the blog post content starting with the title followed by the body of the post. Use Markdown to write posts and pages
-
Once finished, save the file (make sure that you saved it with a .md extension and in the
mddirectory) -
Open the project folder on the command line and type:
python3 project.pyand hit Enter -
Follow the link displayed in the terminal, and if everything went right the site should be visible in the browser window.
Deployment
Take all the HTML files in the html folder and upload them to any web server, like Heroku or Github Pages
Video Demo
© 2025 Mario Sanchez Carrion